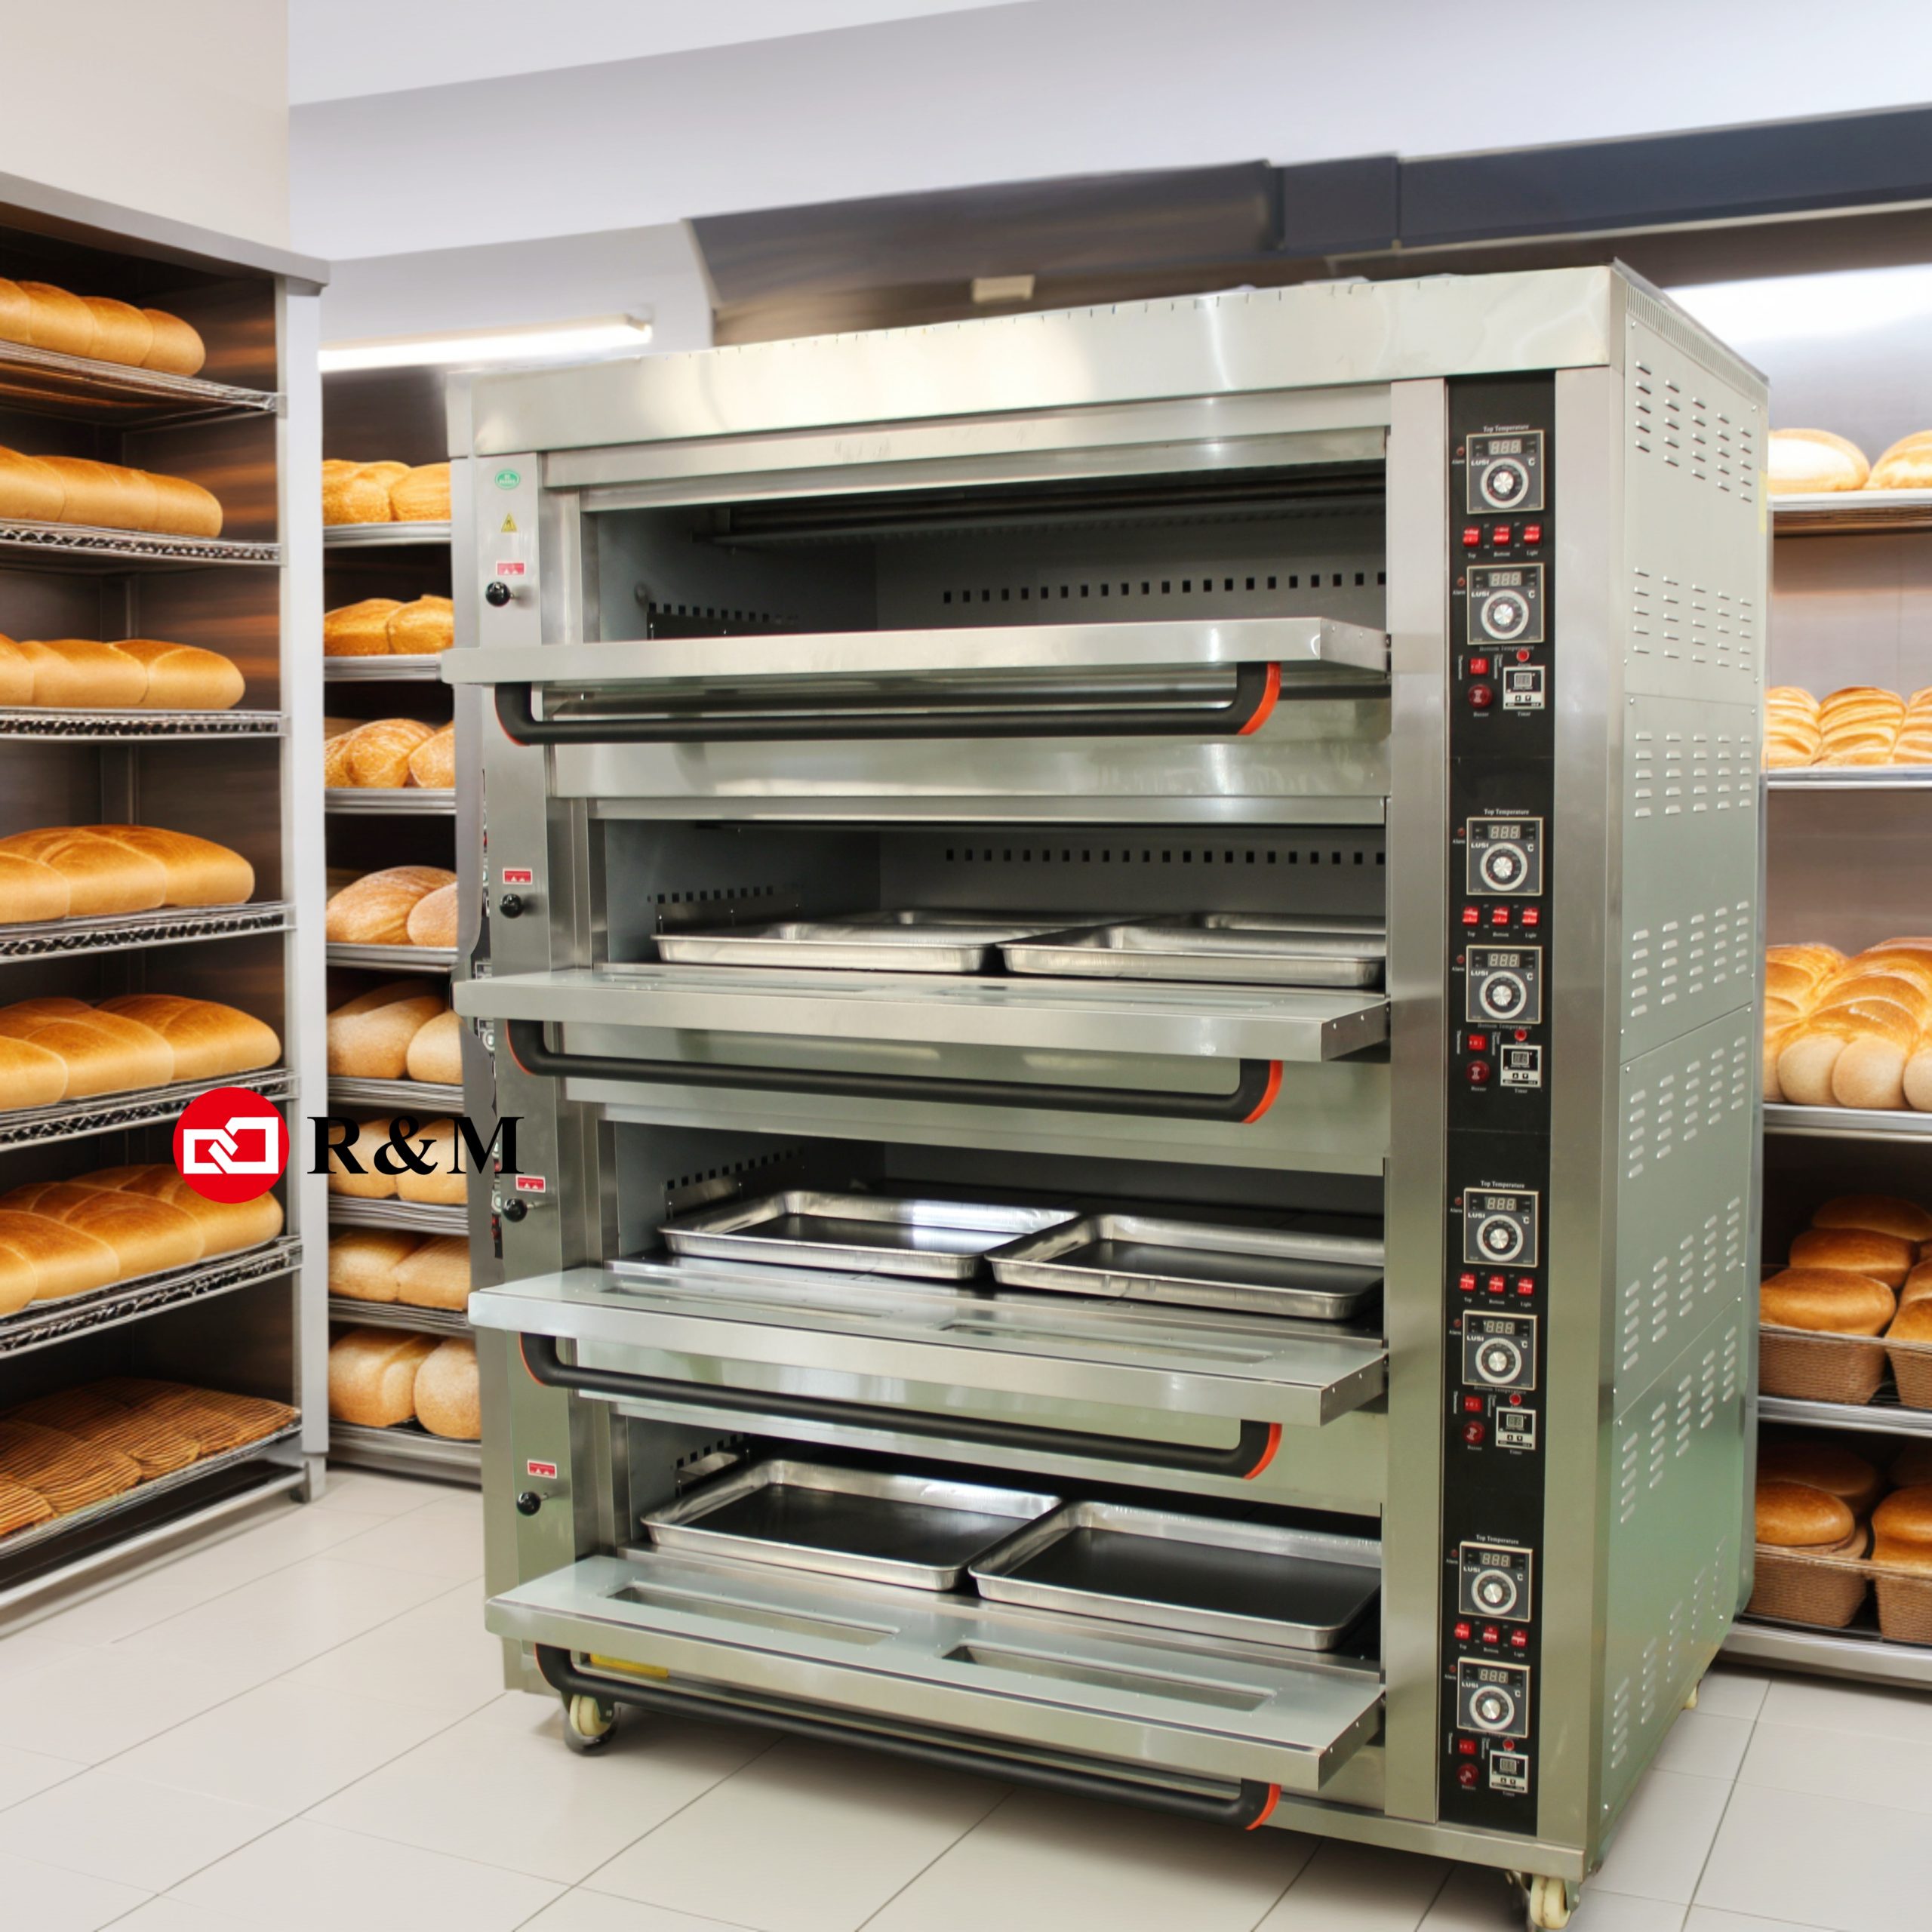
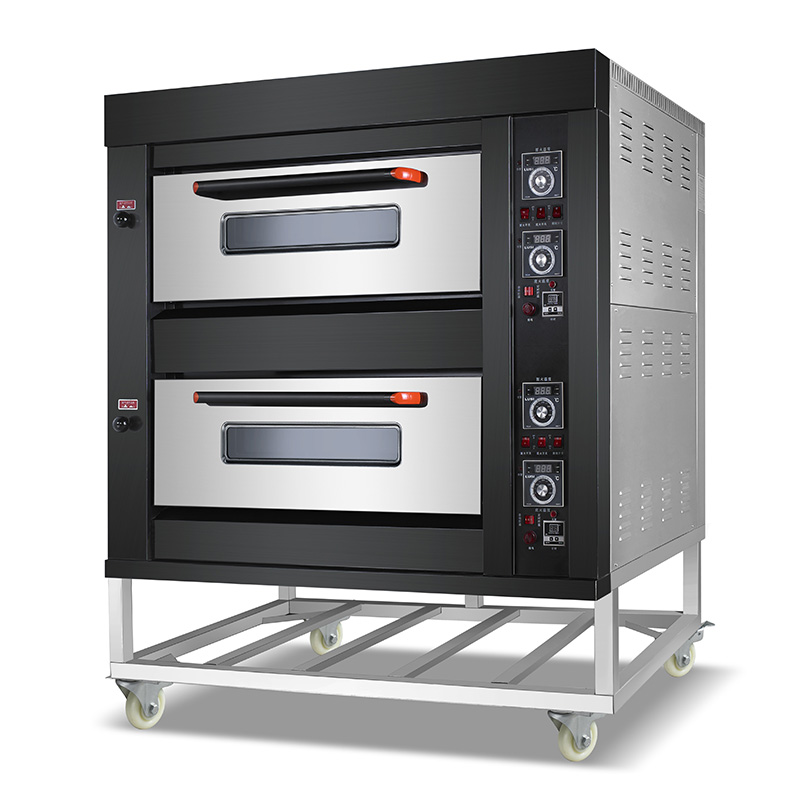
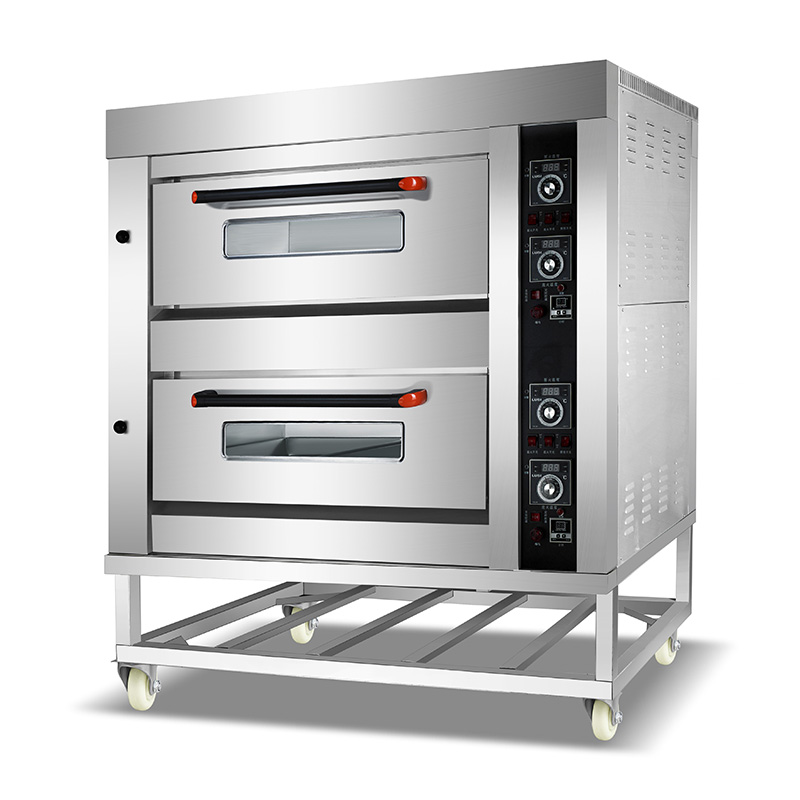
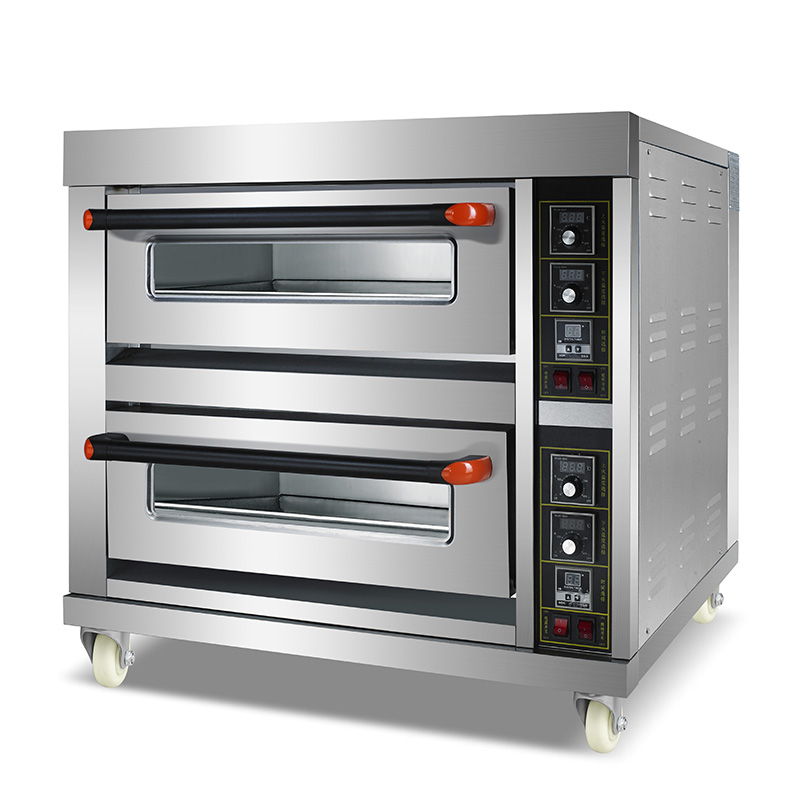
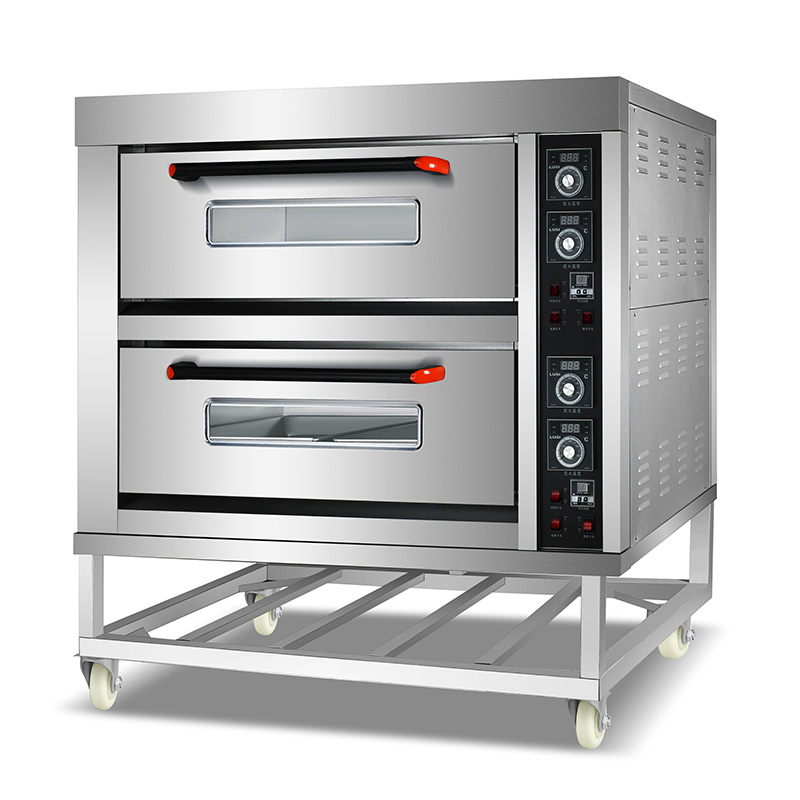
Commercial Bread Oven For Sale Glass Door Deck Oven
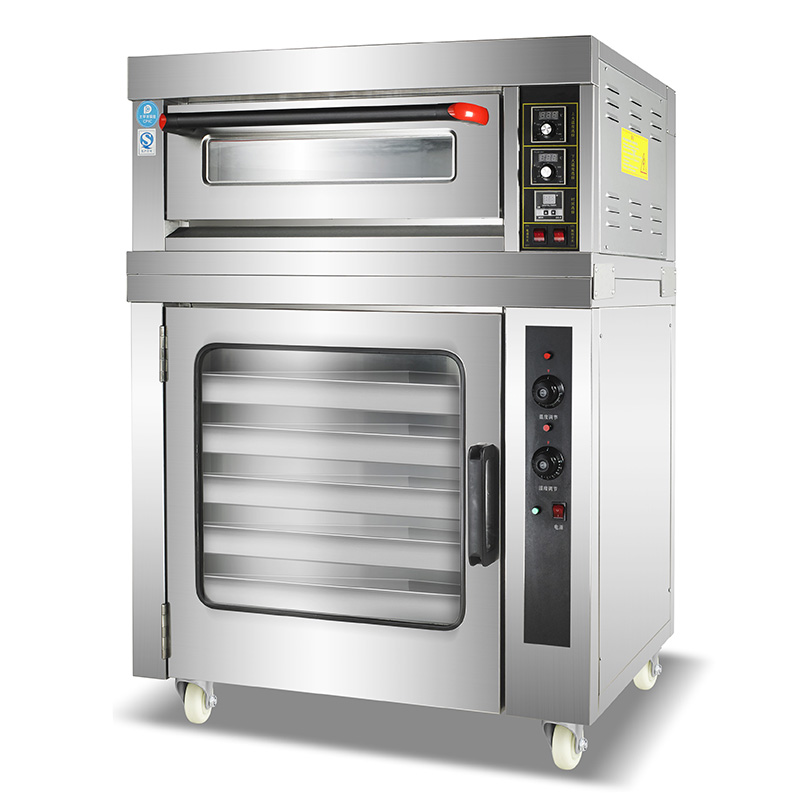
Luxurious Black tempered glass door series, the perfect combination of fashion and practical. Equipped with timing controller. commercial bread oven can also be changed to Micro-Computer Panel. High strength tempered double-layer glass door design,easy to observe the baking situation at any time. Thermal insulation,scald-proof and easy to clean.We have 1 deck/2deck/3deck small or big bread oven with factory price for choose, its not only suitable for commercial and industrial bread oven,but also for home use.Users can buy electric oven according to the site environment and demand.
Advantages Of Commercial Deck Oven Electric Oven
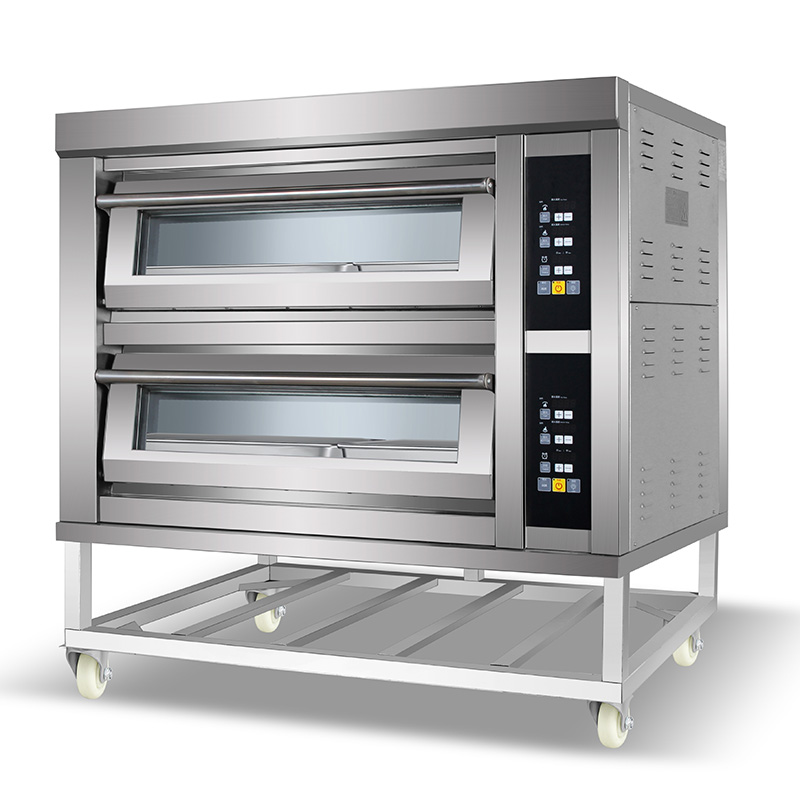
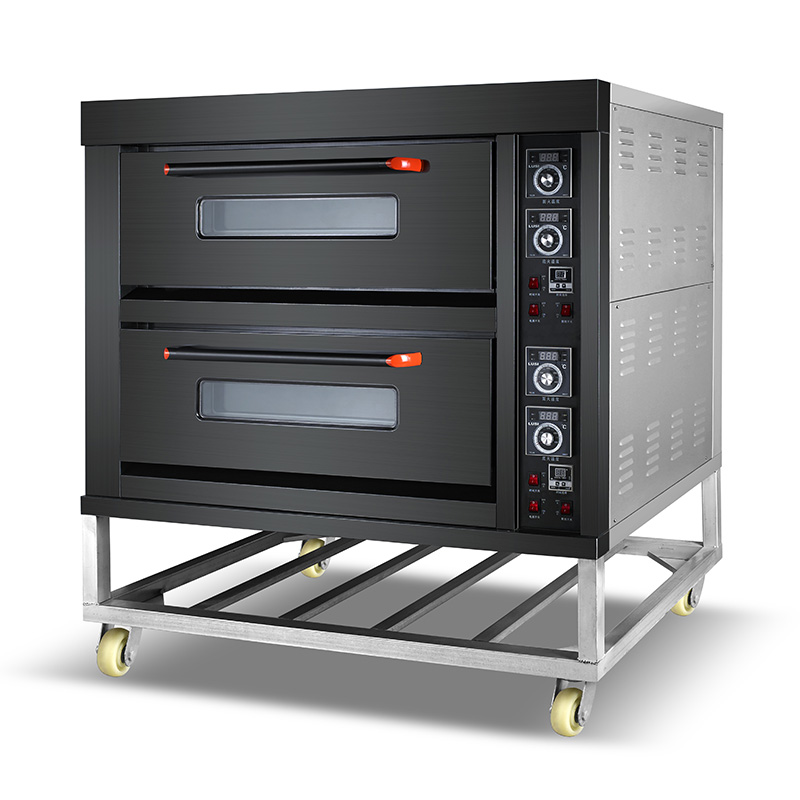
Classic type Electric oven(digital Panel)
1.Equipped with digital constant temperature controller,Digital panel can see the instant temperature.
2.Equipped with timing controller,it will stop heating automatically and buzzer alarm after the time setting
3.The front frame is made of high-quality stainless steel 201,With CE certification.
4.With CE certification.One of the best electric oven for baking bread choosen with factory price
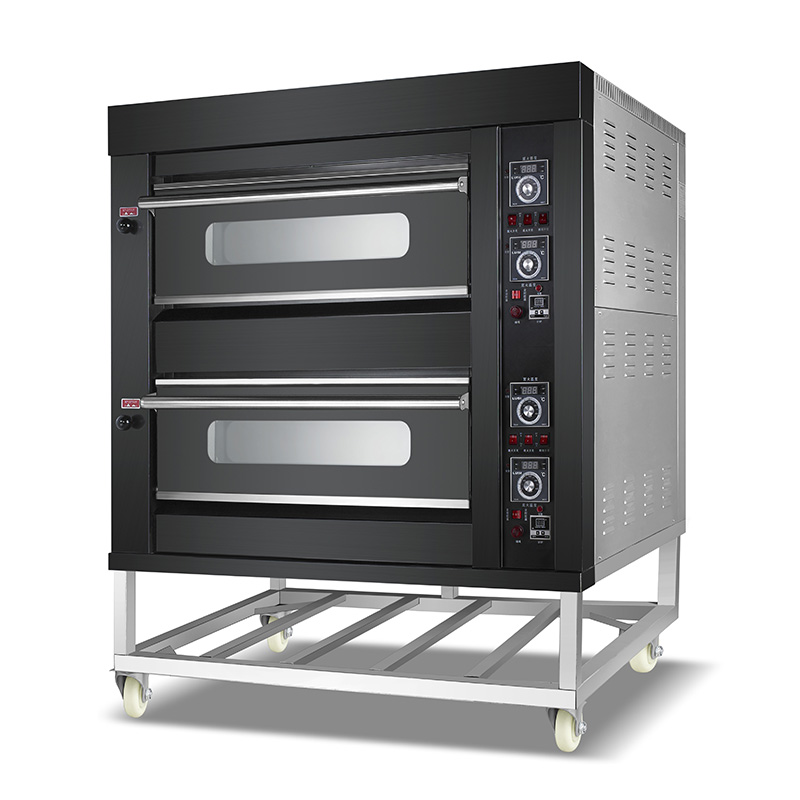
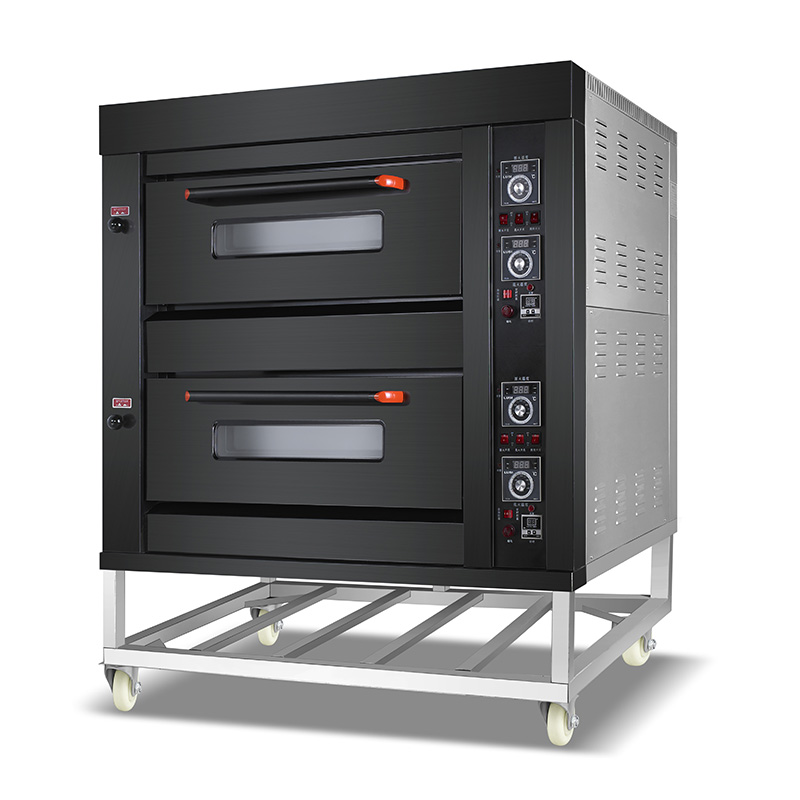
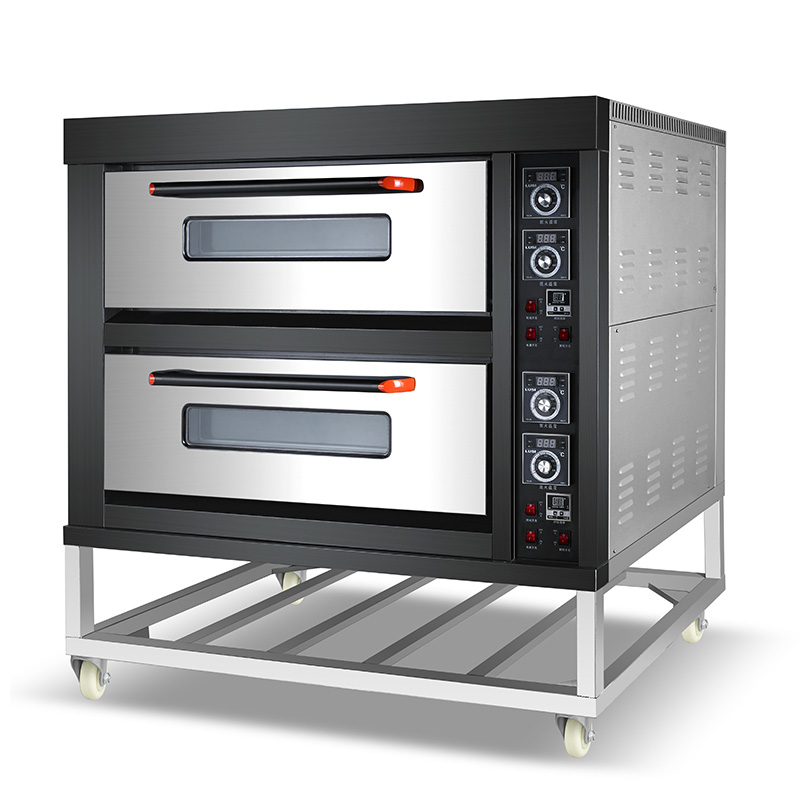
Classic type Electric oven(micro-computer Panel)
1.Microcomputer panel,precise temperature control.
2.Adopt high quality far-infrared heating tubes and reasonable arrangement for uniform heating.
Fast heating up and saving energy
3.With CE certification.
Specification of Commercial Electric deck oven
| Model | Specificatio |
POWER(KW |
Voltage | Dimension L*W*H(MM |
N.W.(KG) |
| YCD-2D | 1 DECK 2 Tray | 6.6 | 380v | 1250x820x565mm | 75kg |
| YCD-2-4D | 2 DECK 4 Tray | 13.2 | 380v | 1250x820x1300mm | 135kg |
| YCD-3-6D | 3 DECK 6 Tray | 19.8 | 380v | 1250x820x1450mm | 170kg |
| YCD-3D | 1 DECK 3 Tray | 10 | 380v | 1685x820x565mm | 100kg |
| YCD-3-9D | 3 DECK 9 Tray | 30 | 380v | 1685x820x1450mm | 230kg |
| YCD-3-12D | 3 DECK 12 Tray | 37.8 | 380v | 1685x1020x1450mm | 355kg |
Instruction to single/three-phase’ power wire diagram.
YCD-2D ,YCDsingle / three-phase’ power wire diagram (220v~/380V3N)
Picture(a) one-phase(220V~) external power wiring diagram: Picture 3(connecting wire) Connect the power output ports(L1,L2,L3) together as one-phase power’s phase wire (live) ;N Connect the neutral wire, @ connect the earth wire of the power wire( to the port of protective earth wire).1.three-core acid proof resistant rubber electric cable(YZW).2.five-figure porcelain wiring port.3.copper-core connecting wire.4.Electric appliance original installing board.5.protective earth plaque and earth spiral circle 6.heat breaker. 7. protective tube (2A) 8.press wire glue 9. four-pole electromagnetism buckle switch
Picture(b) three-phase four-wire (380V3N) external power wiring diagram: Connect separately three phased wire (live) of power to the input ports (L1,L2,L3),N Connect the neutral wire,@ connect the earth wire of the power wire( to the port of protective earth wire).1.three-core acid proof resistant rubber electric cable(YZW).2.five-figure porcelain wiring port.3.copper-core connecting wire.4. electric appliance original installing board.5.protective earth plaque and earth spiral circle 6.heat breaker. 7. protective tube (2A) 8.press wire glue 9. four-pole electromagnetism buckle switch
Notes: The original appliance’s external power supply is suitable for applying the (220V) single-phase electricity interchange wiring way. If applying the three-phase four-wire power supply, please disconnect the copper-cored wire before usage. A fire-core electric cable is equipped with the appliance for the external power supply of 380V3N~.
Warning: To avoid the accident, the operation of exchange the outside voltage should be carried out by the experienced and qualified specialist with electric appliance.
YCD-2D single/three-phase’ power wire diagram (220V-/380V 3N~)
Picture (a) one-phase (200V~) external power supply wiring diagram: 3 (connecting wire) Connect the power output ports(L1,L2,L3) together as one-phase power’s phase wire(live) ;N Connect the neutral wire,@ connect the earth wire of the power wire( to the port of protective earth wire).
- three-core acid proof resistant rubber electric cable (YZW).2.five-figure porcelain wiring port.3.copper-core connecting wire.4.Electric appliance original installing board.
- Protective earth plaque and earth spiral circle 6.heat breaker. 7. Protective tube (2A) 8.press wire glue 9.Four-pole electromagnetism buckle switch
Picture(b) three-phase four-wire (380V3N) external power supply wiring diagram: Connect separately three phased wire (live) of power supply to the input ports (L1,L2,L3), N Connect the neutral wire,@ connect the earth wire of the power wire( to the port of protective earth wire).
- five-core acid proof resistant rubber electric cable (YZW).2.five-figure porcelain wiring port.3.copper-core connecting wire.4.Electric appliance original installing board.
- protective earth plaque and earth spiral circle 6.heat breaker. 7. protective tube (2A) 8.press wire glue 9.four-pole electromagnetism buckle switch
Note: The original appliance’s external power supply is suitable for applying the (220V) single-phase electricity interchange wiring way. If applying the three-phase four-wire power supply, please disconnect the copper-cored wire before usage. A fire-core electric cable is equipped with the appliance for the external power supply of 380V3N~.
Warning: To avoid accident, the operation of exchange the outside voltage should be carried out by the experienced and qualified specialist with electric appliance.
Our Service
1.To satisfy one-stop convenience for our client, our company presented service of matching kitchen equipment.
2.We offers OEM & ODM services. Our company has strong ability to design and manufacture, with more than 13 years of business experience.
3.Customized according to the different needs of customers, such as the energy consumption of diesel, electric and gas.
4.We can offer the spare parts according to your order. One year warranty.
5.You have flexibility to choose the payment terms that work best for your budget.
6. We offers profession consultancy and solution to customers.
7. Packed in protective wooden case to ensure the safety of transportation. All our product can be packed as you need.
8.With CE & ISO9001 certification.
8.Factory direct sale price. Quality assurance.
Seng Inquiry To Us
- Product Details
-
Advantages Of Commercial Deck Oven Electric Oven
Classic type Electric oven(digital Panel)
1.Equipped with digital constant temperature controller,Digital panel can see the instant temperature.
2.Equipped with timing controller,it will stop heating automatically and buzzer alarm after the time setting
3.The front frame is made of high-quality stainless steel 201,With CE certification.
4.With CE certification.One of the best electric oven for baking bread choosen with factory price
Classic type Electric oven(micro-computer Panel)
1.Microcomputer panel,precise temperature control.
2.Adopt high quality far-infrared heating tubes and reasonable arrangement for uniform heating.
Fast heating up and saving energy
3.With CE certification.
Specification of Commercial Electric deck oven
Model Specificatio
POWER(KW
Voltage Dimension L*W*H(MM
N.W.(KG) YCD-2D 1 DECK 2 Tray 6.6 380v 1250x820x565mm 75kg YCD-2-4D 2 DECK 4 Tray 13.2 380v 1250x820x1300mm 135kg YCD-3-6D 3 DECK 6 Tray 19.8 380v 1250x820x1450mm 170kg YCD-3D 1 DECK 3 Tray 10 380v 1685x820x565mm 100kg YCD-3-9D 3 DECK 9 Tray 30 380v 1685x820x1450mm 230kg YCD-3-12D 3 DECK 12 Tray 37.8 380v 1685x1020x1450mm 355kg Instruction to single/three-phase’ power wire diagram.
YCD-2D ,YCDsingle / three-phase’ power wire diagram (220v~/380V3N)
Picture(a) one-phase(220V~) external power wiring diagram: Picture 3(connecting wire) Connect the power output ports(L1,L2,L3) together as one-phase power’s phase wire (live) ;N Connect the neutral wire, @ connect the earth wire of the power wire( to the port of protective earth wire).1.three-core acid proof resistant rubber electric cable(YZW).2.five-figure porcelain wiring port.3.copper-core connecting wire.4.Electric appliance original installing board.5.protective earth plaque and earth spiral circle 6.heat breaker. 7. protective tube (2A) 8.press wire glue 9. four-pole electromagnetism buckle switch
Picture(b) three-phase four-wire (380V3N) external power wiring diagram: Connect separately three phased wire (live) of power to the input ports (L1,L2,L3),N Connect the neutral wire,@ connect the earth wire of the power wire( to the port of protective earth wire).1.three-core acid proof resistant rubber electric cable(YZW).2.five-figure porcelain wiring port.3.copper-core connecting wire.4. electric appliance original installing board.5.protective earth plaque and earth spiral circle 6.heat breaker. 7. protective tube (2A) 8.press wire glue 9. four-pole electromagnetism buckle switch
Notes: The original appliance’s external power supply is suitable for applying the (220V) single-phase electricity interchange wiring way. If applying the three-phase four-wire power supply, please disconnect the copper-cored wire before usage. A fire-core electric cable is equipped with the appliance for the external power supply of 380V3N~.
Warning: To avoid the accident, the operation of exchange the outside voltage should be carried out by the experienced and qualified specialist with electric appliance.
YCD-2D single/three-phase’ power wire diagram (220V-/380V 3N~)
Picture (a) one-phase (200V~) external power supply wiring diagram: 3 (connecting wire) Connect the power output ports(L1,L2,L3) together as one-phase power’s phase wire(live) ;N Connect the neutral wire,@ connect the earth wire of the power wire( to the port of protective earth wire).
- three-core acid proof resistant rubber electric cable (YZW).2.five-figure porcelain wiring port.3.copper-core connecting wire.4.Electric appliance original installing board.
- Protective earth plaque and earth spiral circle 6.heat breaker. 7. Protective tube (2A) 8.press wire glue 9.Four-pole electromagnetism buckle switch
Picture(b) three-phase four-wire (380V3N) external power supply wiring diagram: Connect separately three phased wire (live) of power supply to the input ports (L1,L2,L3), N Connect the neutral wire,@ connect the earth wire of the power wire( to the port of protective earth wire).
- five-core acid proof resistant rubber electric cable (YZW).2.five-figure porcelain wiring port.3.copper-core connecting wire.4.Electric appliance original installing board.
- protective earth plaque and earth spiral circle 6.heat breaker. 7. protective tube (2A) 8.press wire glue 9.four-pole electromagnetism buckle switch
Note: The original appliance’s external power supply is suitable for applying the (220V) single-phase electricity interchange wiring way. If applying the three-phase four-wire power supply, please disconnect the copper-cored wire before usage. A fire-core electric cable is equipped with the appliance for the external power supply of 380V3N~.
Warning: To avoid accident, the operation of exchange the outside voltage should be carried out by the experienced and qualified specialist with electric appliance.
- Service
-
Our Service
1.To satisfy one-stop convenience for our client, our company presented service of matching kitchen equipment.
2.We offers OEM & ODM services. Our company has strong ability to design and manufacture, with more than 13 years of business experience.
3.Customized according to the different needs of customers, such as the energy consumption of diesel, electric and gas.
4.We can offer the spare parts according to your order. One year warranty.
5.You have flexibility to choose the payment terms that work best for your budget.
6. We offers profession consultancy and solution to customers.
7. Packed in protective wooden case to ensure the safety of transportation. All our product can be packed as you need.
8.With CE & ISO9001 certification.
8.Factory direct sale price. Quality assurance. - Contact
-
Seng Inquiry To Us